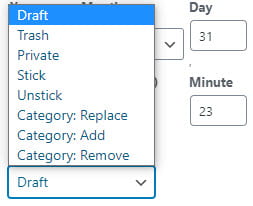
The Post Expirator plugin allows you to add an expiration time and date to posts. This can be configured to either delete the post, change it to a draft, stick or unstick a post, make a post private or update the post categories when it expires.
Add Expiration Time and Date
Once the Post Expirator plugin has been activated in Plugins > All Plugins you’ll see a post expirator module on the post/page editor.
You add an expiration as follows:
1. Scroll down to the Post Expirator module and select Enable Post Expiration.
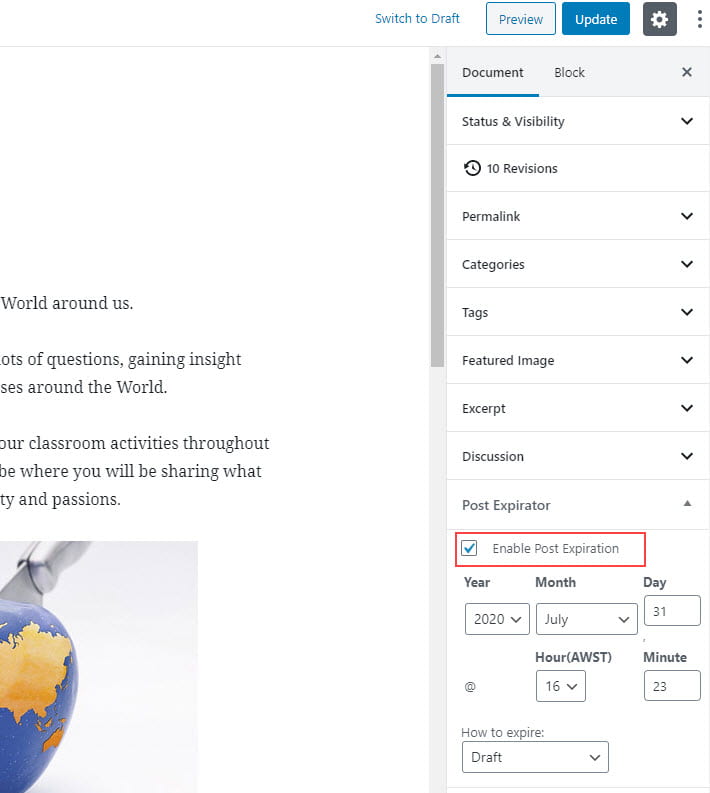
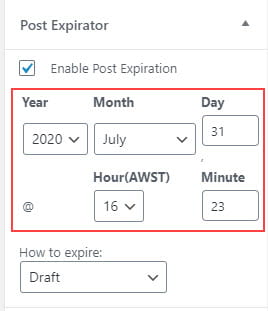
2. Enter the date and time.
- The date and time is based on the time you have set in Settings > General.
- By default, all new sites created are set to UTC (Coordinated Universal Time) which is in London, UK.
3. Select how you want the post, or page, to expire.
4. Click Update.
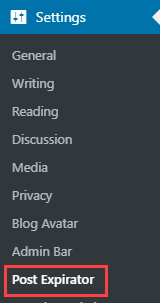
Post Expirator Settings
In Settings > Post Expirator you have a number of options available to further customize your settings.
General Settings
Defaults
Here you can edit your default settings for Date Format, Time Format, as well as default Date/Time Duration.

Category Expiration
Sets the default expiration category for the post. You can select multiple categories for expiration.

Expiration Email Notification
Used to send an email when a post expires.

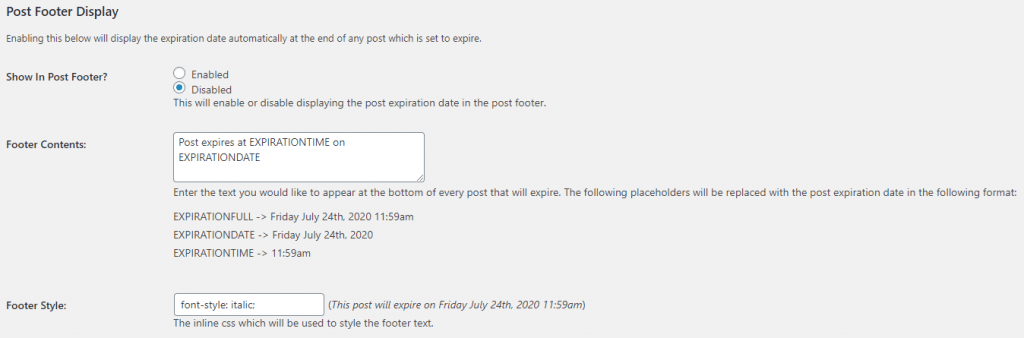
Post Footer Display
Enabling this option displays the expiration date automatically at the end of any post which is set to expire.
Defaults
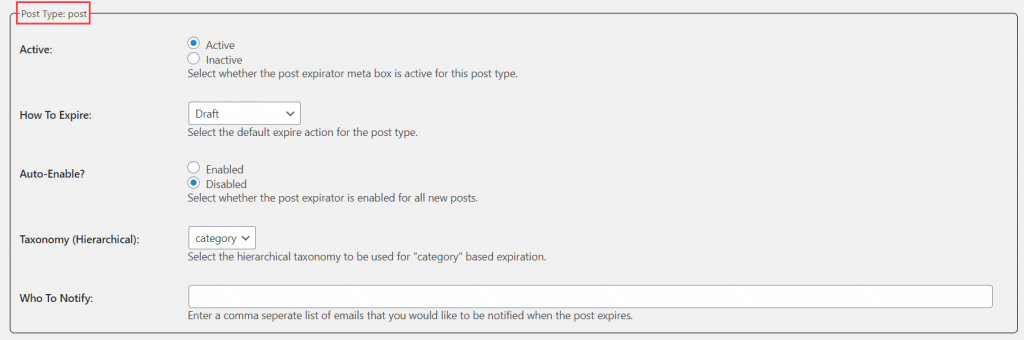
The Defaults settings tab allow you to set the default actions or values to be used for each for the corresponding post types. These values can all be overwritten when creating or editing the post or page.